Different types of interfacing I use when sewing for myself
I use time, knowledge, and skill to make my homemade clothing and wardrobe. It's important that our wardrobes are created from high-quality materials and that we use the right tools. That's why I wanted to write a bit more in-depth about interfacing, the type I use, for what, and why.
Interfacing is the "fabric" you put on the wrong side of your fabric to make it more stable. Interfacing comes in many different versions: interfacing for sewing bags, for embroidery, with glue, without glue, and many more. In this post, I will only focus on the ones I use when making my wardrobe. I use interfacing with glue, which sticks when it comes into contact with heat from your iron. I will tell you more about the three types I use in this post.
Clipping and Gluing
First, I want to tell you how to cut and, afterwards, fixate the interfacing on your fabric. You must cut your interfacing with a seam allowance. I often see people forget to add seam allowance when cutting interfacing, but let me clarify: Interfacing needs to be included in the seam allowance, or else it will loosen over time or in the wash, and the interfacing will lose its function.
When you apply your interfacing with the iron, it's essential to press it, unlike when you press a seam or a wrinkled piece of fabric, but with constant heat and pressure.
With that, you have to hold your iron in one place and press with some of the weight from your body. Different interfacings have different melting points for the glue, meaning the time you must press your iron down varies. Not all interfacings come with instructions, but I've noted my experiences below. If your interfacing does come with instructions, they will often be included in the selvedge of the interfacing. If you don't press long enough, there's a chance the glue will loosen and lose its function, which might make the fabric "bubble," and that doesn't look pretty.
Before you start sewing
Good interfacing is the kind that adds hold to the fabric without making it stiff or changing its qualities. I only use interfacing if it's necessary. Remember to pick the right fabric for your project to begin with. You've chosen the wrong fabric if you need oceans of interfacing to make your sewing project succeed.
I use two kinds of woven interfacing and never the non-woven kind, as it makes the fabric paper-like. To me, woven interfacing is the right kind. But try to find out what works for you and your sewing projects. I use thin silk-like interfacing and medium-heavy volume interfacing. Besides the two woven interfacings, I also use stay tape. Below, I want to tell you about the different kinds:
Silk/jersey interfacing – 8 sec
This is a thin woven interfacing. And of all the types, this must be my favourite. It's an excellent all-around interfacing and works wonderfully on small pieces of fabric, for example, cuffs, collars, buttonholes, etc. What I like about this interface is that it's builtable. You can layer it for more stability or graduate to get more hold in some places more than others. It's perfect for coats or sleeves. It's also perfect if you need to fully fixate a piece of buclé fabric or other types of fabric that's loosely woven and need stability on the inside. This interfacing is elastic one way, and on the grainline, it's stable, which means you can also use both woven fabrics and jersey.
This interfacing is suitable for light to medium fabrics.
Volume interfacing – 10-12 sec
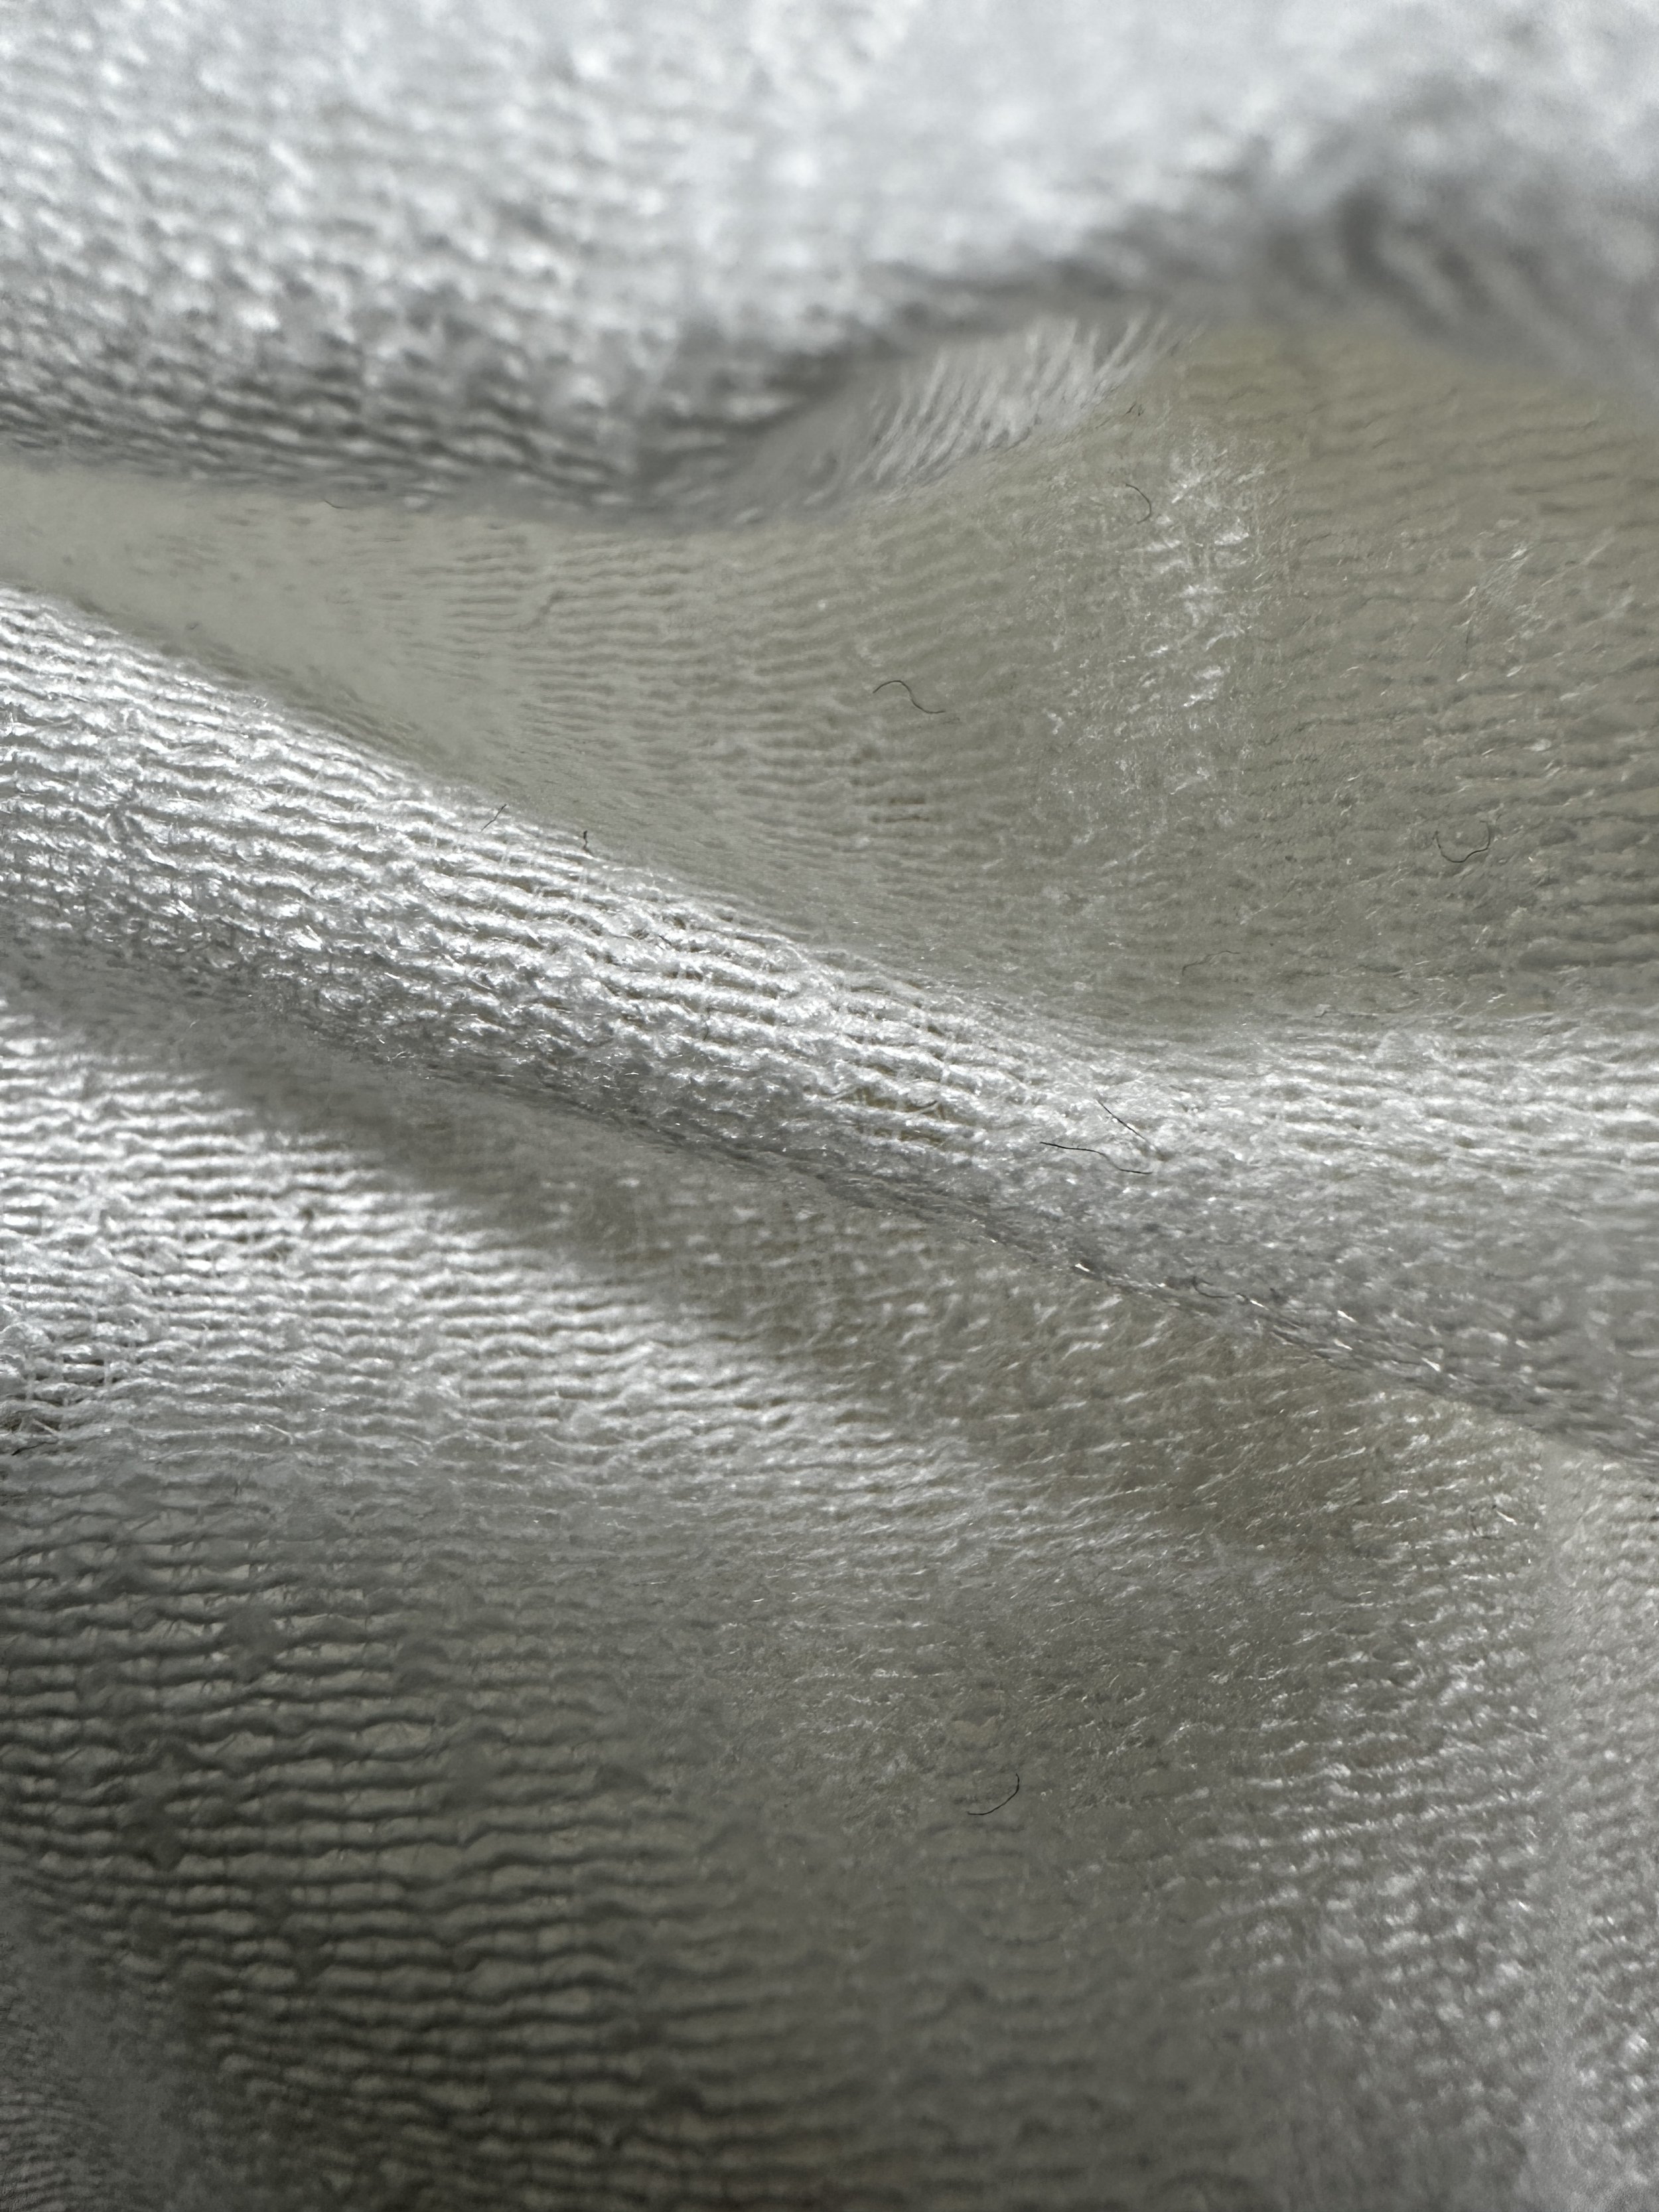
This interfacing is woven, so it gives a light volume. It's woven, but it looks like it's knitted and a bit like wool on the surface. This interfacing is heavier than the silk interfacing. I use this for waistbands, coats and jackets. This kind of interfacing works wonderfully with wool or other heavy fabrics. You can easily find me combining this interfacing with the silk interfacing, for example, on a coat where I will fixate the fabric with the thin interfacing but use this for volume in the sleeve or on the area around the bust.
Works well for medium to heavy fabrics.
Stay tape – 5-8 secs.
This thin interfacing is around 1-2 centimetres wide, with a woven thread in the centre. I use this around necklines, armholes in pocketlines or other places where I need to stabilise my seam. Sewing projects tend to "grow", especially around the neckline or armseye; these are the things stay tape can help with. The stay tape makes the success rate of a project much higher.
These are the kinds of interfacing I use when sewing my homemade wardrobe. I hope you learned something new and can use it when sewing your dream wardrobe!


